![]()
Assembly of the SSG-2 scale unit
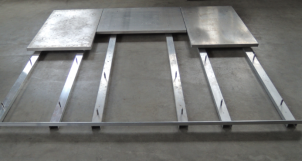
- Place three aluminium panels on the frame as shown in Figure 7. Make sure that the spacer bolts slide into the holes of the panels. Leave the side open where the connector cable leads through.
- Fix the SSG-2 scale to the center of the frame with two M8x25 screws (see Figure 8) and cover the screw heads with blanking plugs.
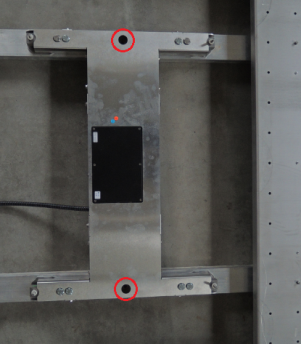
- Remove the head nuts form the four load cells on each corner of the SSG-2 scale (see Figure 9).
- Connect the MAIN cable and the optional ground-temperature sensor to the SSG-2 scale as illustrated in Figure 10.
-
Place one of the aluminium panels on top of the measurement device and fix it with the previously removed head nuts.
ATTENTION Tighten the head nuts on the center panel only by hand!
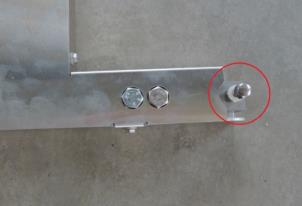
ATTENTION The bolts of the SSG-2 scale must not touch the borehole walls of the panel (see Figure 11).
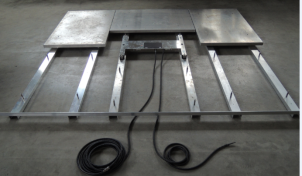
- Place the remaining aluminium panels on the frame.
- Fix all aluminium panels with the provided M8 nuts and tighten them gently.